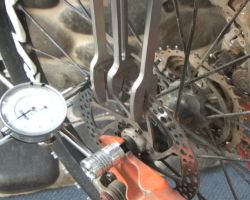
With a wheel survey gauge tool, you can true a rotor or rim to within a paper's width of perfect. A true rotor gives true, predictable braking.
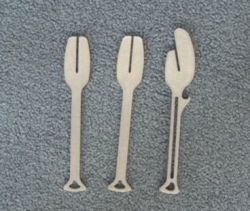
(Note: I haven't found a good use for the small "beer-bottle opener" hook on the side of the bending tool. I suspect it's just what appears to be: a beer bottle opener.)
On this page, I'll show you the right way to true the rotor. For a quick-n-dirty method using a crescent wrench (sorta works, and lets you keep biking when you're away from the shop), click here .
 |
|
|
|


Position the gauge so it's easy to read, yet out of the way of your tools.

Give yourself about 2-3 mm of "float" so the indicator tip can move back and forth with the warp of the rotor.
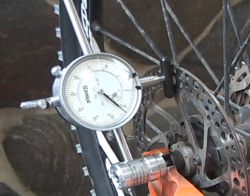
This is the best position to detect all warps and bends. A circumferential orientation (the black tip lies along the direction of rotation) can detect the most common type of heat-warping.
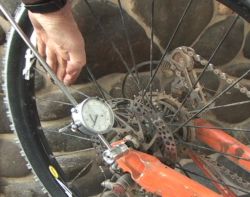
Turn the wheel gently. The needle of the gauge will move
with the warp of the rotor. When you see the needle deviate, identify
three spots:
1. where the motion starts
2. the point of maximum excursion
3. where the deviation ends
These are the spots where you'll apply your tools.
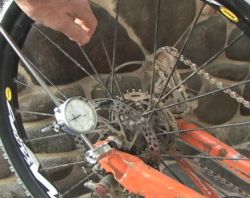
Any warp of the rotor decreases braking response and efficiency.
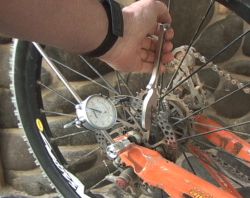
Here the long end of the bending tool is against a support strut. This corrects a "taco" type bend that involves a strut.
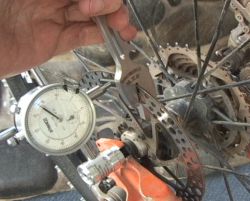
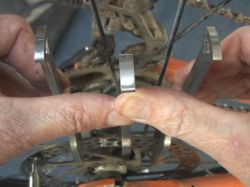
Find the spot where the rotor begins to bend outward, the spot of maximum deviation, and the spot where it returns. Put a stabilizing tool on the beginning and end-point of the bend. Put the bending tool in the middle of the curve, at the point of maximum deviation. Apply it so the tool leans outward.
Hold the outer (stabilizing) tools with your fingers while you push inwards on the bending tool with your thumbs as shown.
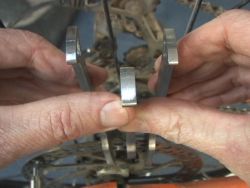
Many bends require a second application of bending with the tools closer together, as the original long curve becomes a short curve.
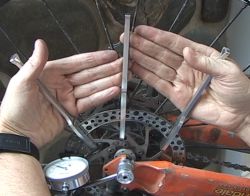
Again, find the spot where the bend begins, the spot of maximum deviation, and the spot where it ends. Apply the stabilizing tools on the beginning and end-point of the bend. Put the bending tool at the point of maximum deviation, turned so the tool leans inward.
For a widespread warp (the most common kind) put the stabilizing tools in the fold of your thumb while pulling back with your fingers on the bending tool.
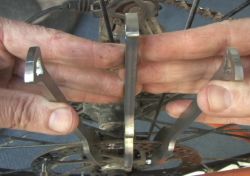
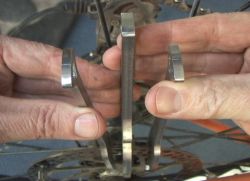
If a smaller curve remains after making the major correction, move the stabilizers inward and repeat.
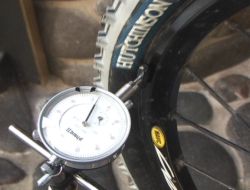
By sliding the gauge out to your rim and moving the gauge-attachment rod so the indicator tip lies on your rim, you have a precise rim-truing gauge.
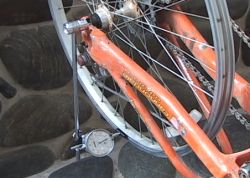
After truing, remount the tire and test for true again. (A damaged tire can sometimes force a rim out-of-true when the tube is inflated.)


